This post will provide the step by step process of migrating
or moving or copy a database from On premises server to Azure VM installed with SQL
Server (IaaS)
Step 1 : Create a VM in Azure with SQL Server Installed : Assuming
you are aware of the process of creating a VM in Azure. Here is the screen shot of VM created in my account
Step 2 : Connect to VM by clicking on Connect button as shown in the below picture and it will prompt you to save the RDP File which you can save locally.
Step 3 : Save the RDP File locally and Right click and Edit the file.
Step 4 : The below picture shows how you can edit the RDP File and attach the local drive to Azure VM. Once you complete the mapping click OK
Step 5 : Double click on the RDP file to connect to VM.
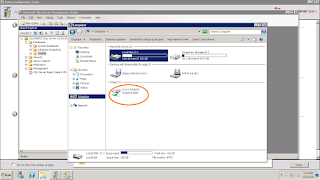
Step 6 : The below picture shows the logged in VM and my laptop D drive mapped to VM.
Step 7 : Now that my Local drive is mapped to the VM, i can copy paste any files from my local drive to VM drive. In a scenario where we need to move a backup file (provided it is small in size, if not there are other optimized way to do it which will be covered in other post) , we can just open the the mapped drive of our source machine and copy paste the file to Azure VM.
The next picture shows the file i copy pasted from my local drive to Azure VM. I copied a 50 MB backup file from my local drive to Azure VM which took close to 3 Minutes. After the file copied and the file was unzipped and the total file was of 150 MB approx.
Once the backup file is copied to a local drive in Azure VM, restoration of the backup file is same as we do in on premises systems. Assume you are aware of the restoration process and below picture shows the restored DB.
Summary : Moving a on premises database to a Windows Azure VM (IaaS) is as simple as moving a DB from one local on premises server to another Server. This shows how quickly can we setup a VM and start our project. Moving a 150 MB DB from my local SQL Server Instance to SQL Server on Azure VM took less than half an hour for me.


